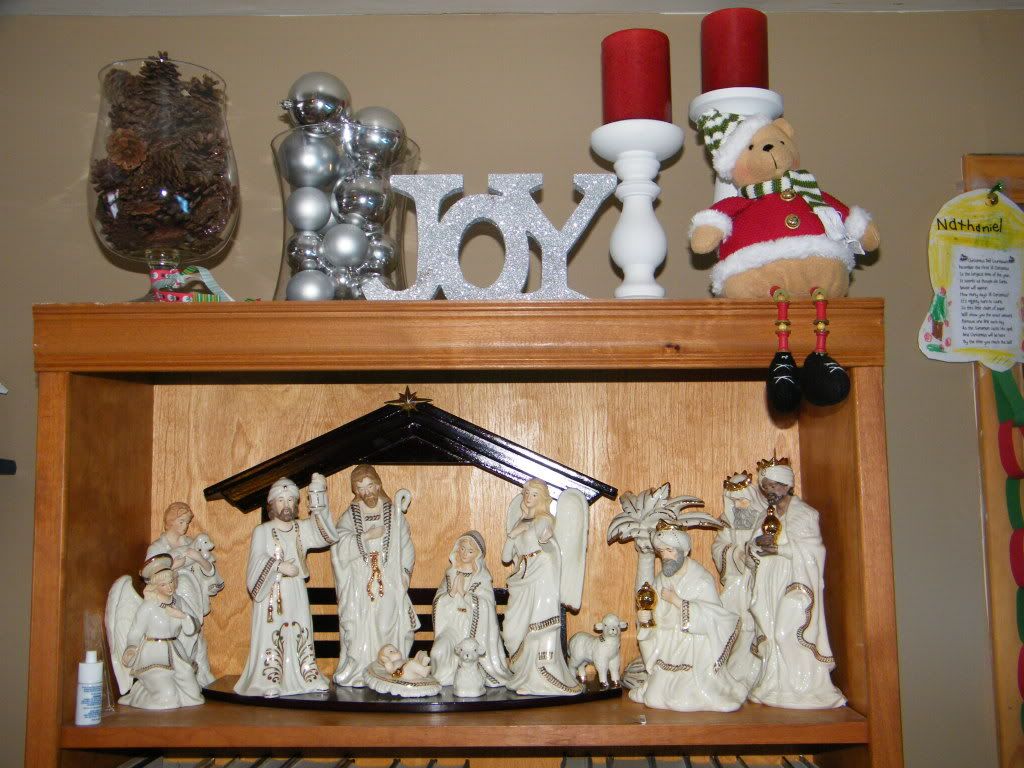
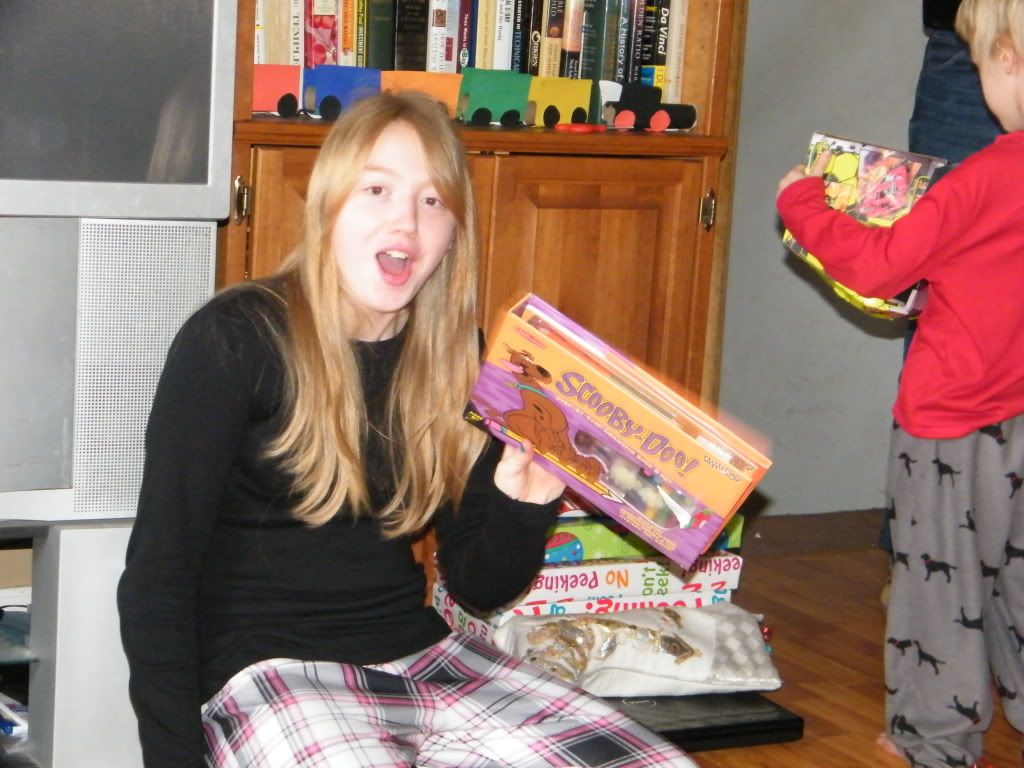
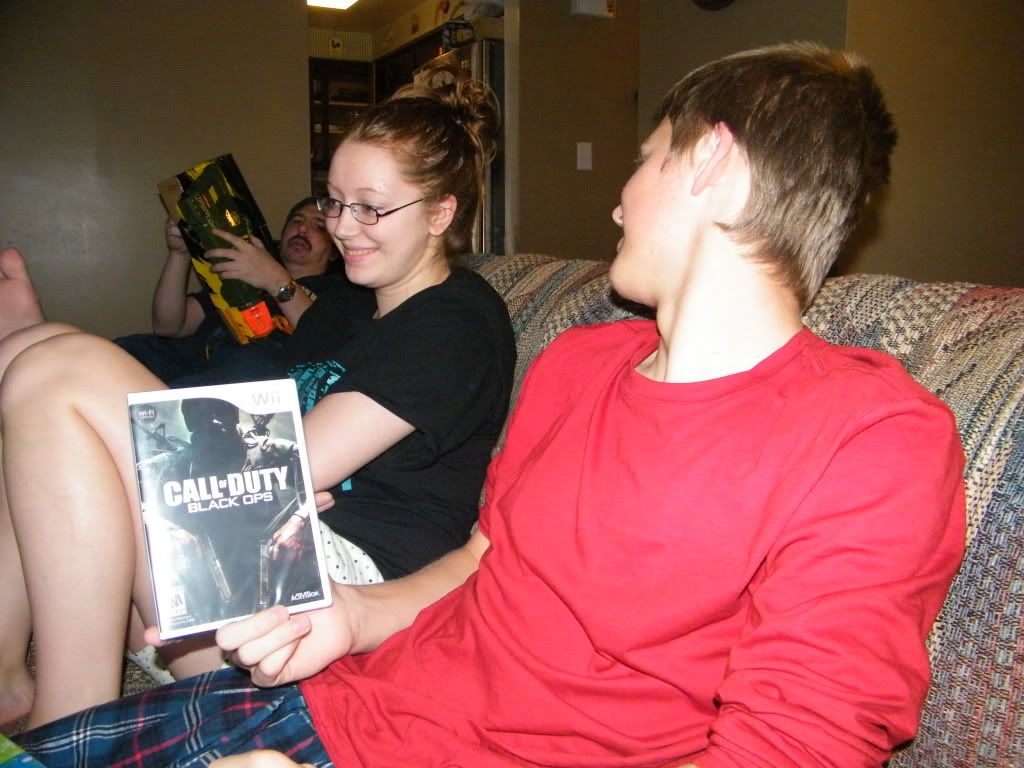
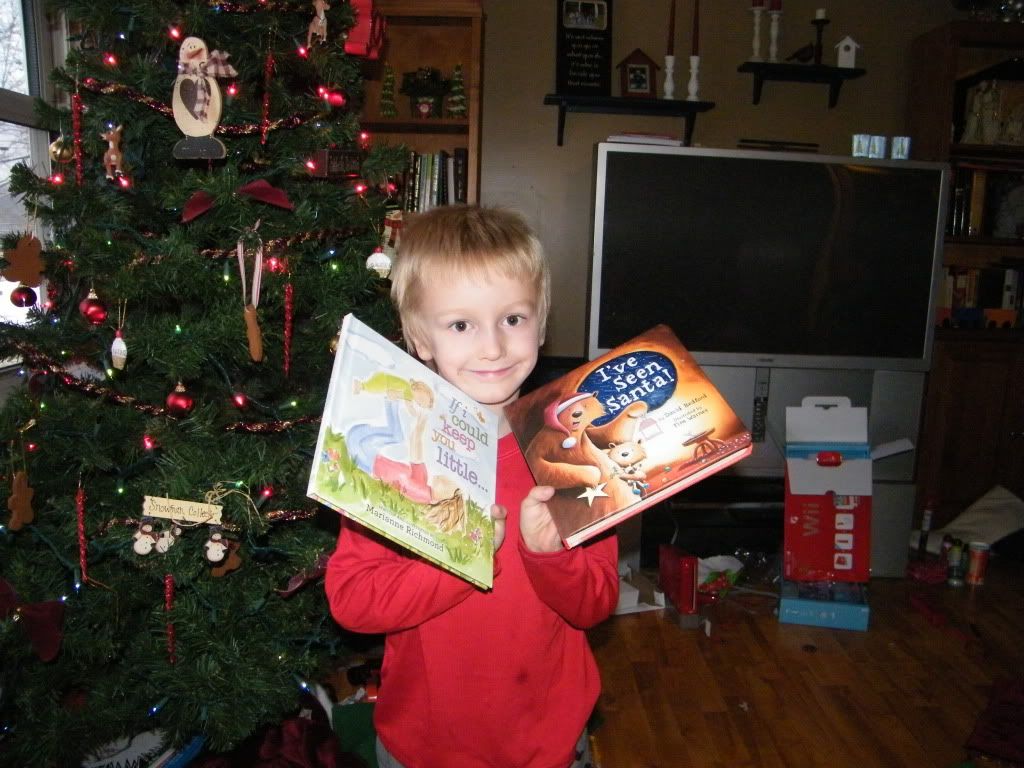
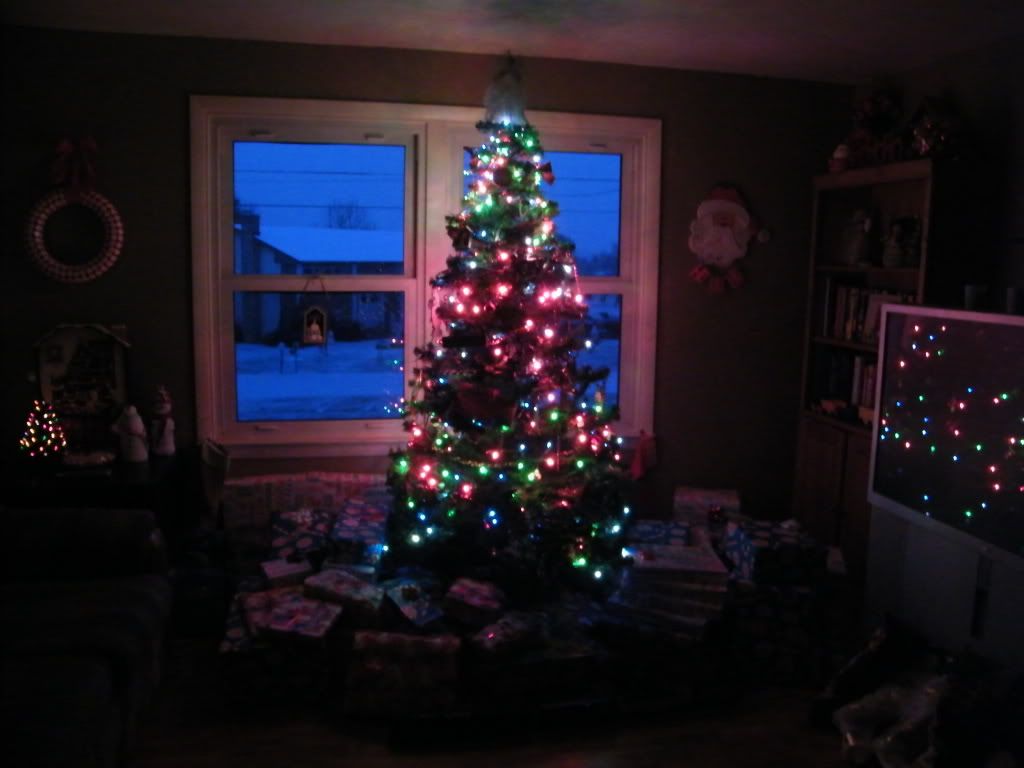
On Christmas Eve, Nicholas and Nathan were listening to the older kids talking and started asking me if there really was a Santa. I said "if you believe there is a Santa, then he is real." I asked Nathan if he remembered watching the Polar Express movie at school, he said he remembered and then stopped asking about Santa. I think we're safe for another year or so. Nicholas is nine and he still "sort of" believes, not sure how much longer he will. Then, I played the Santa message videos that I made from PNP and read them the Polar Express book. Afterwards we started working on our trains.
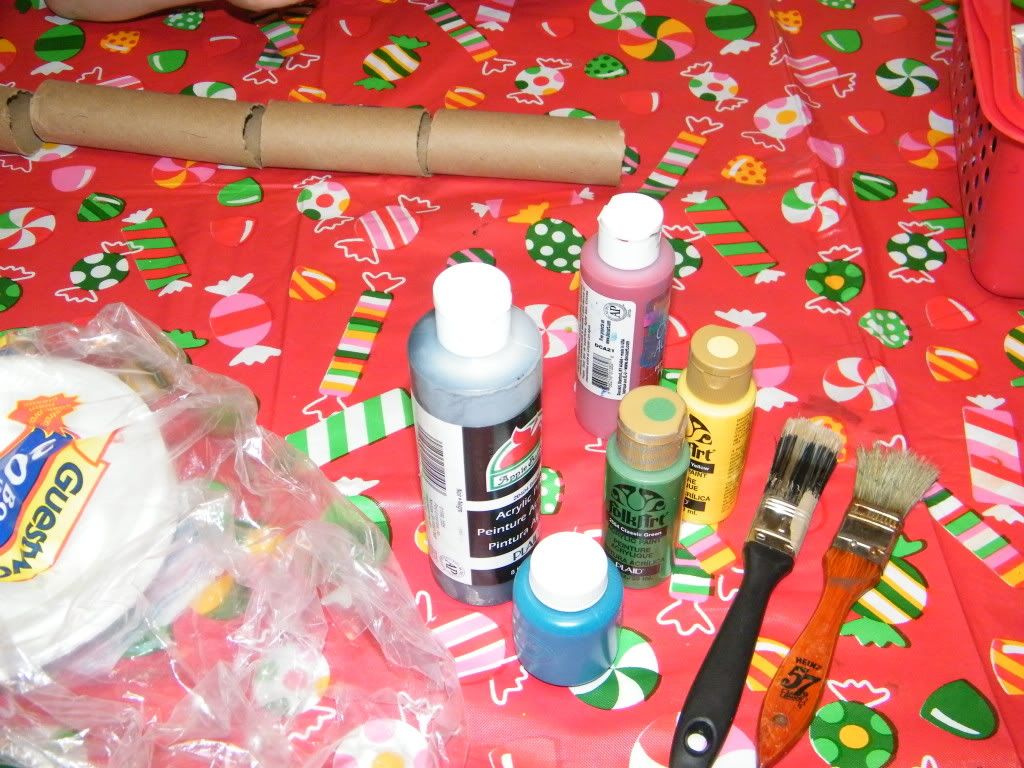
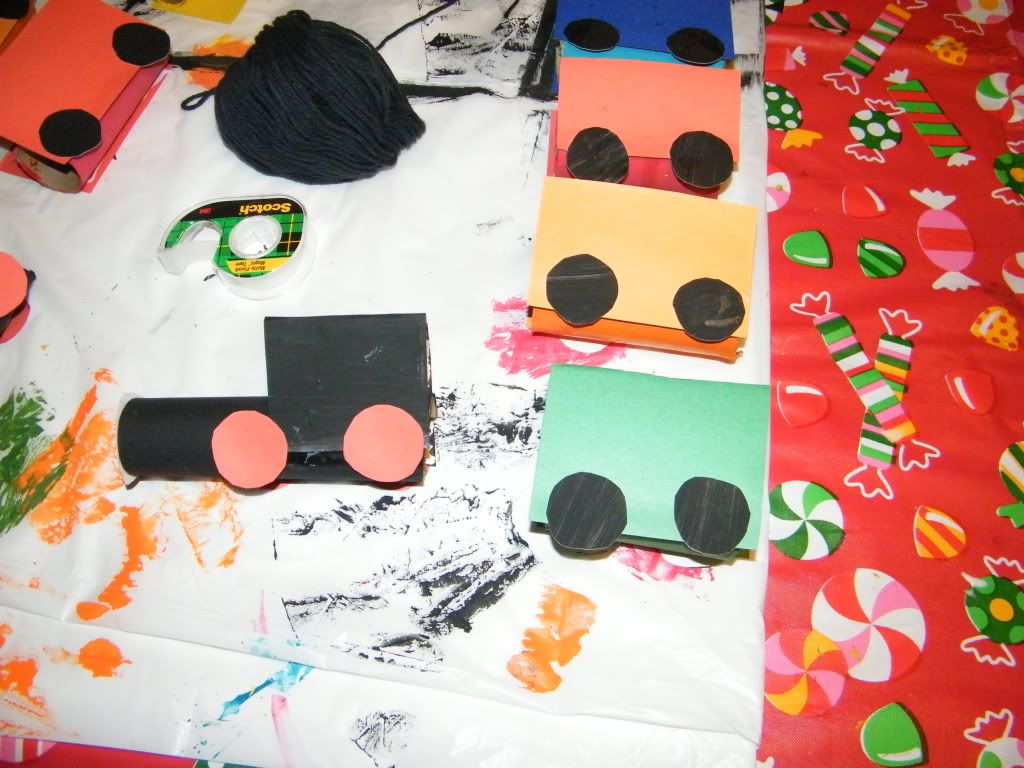
You will need empty toilet paper rolls or cut up paper towel rolls or even cut up wrapping paper tubes (which is what I used), paint, poster board, yarn, tape and tacky glue (because regular glue didn't stick very well).
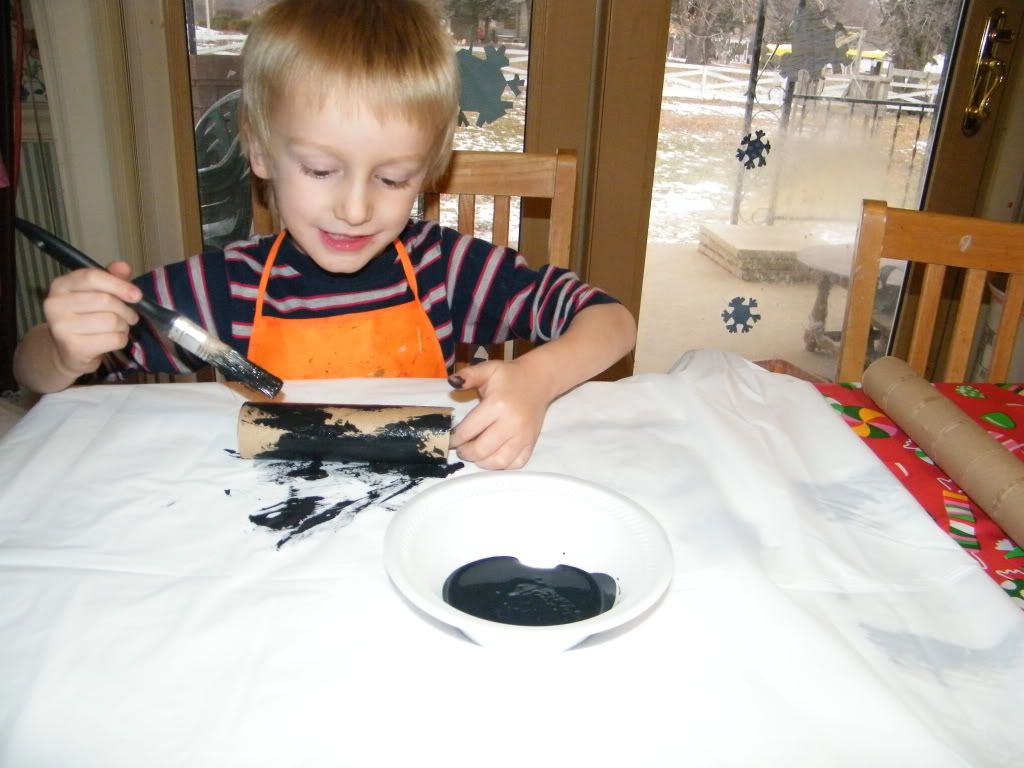
Paint the empty tube rolls various colors. We used black, red, orange, yellow, green and blue (but you can make as many cars and use as many colors as you like).
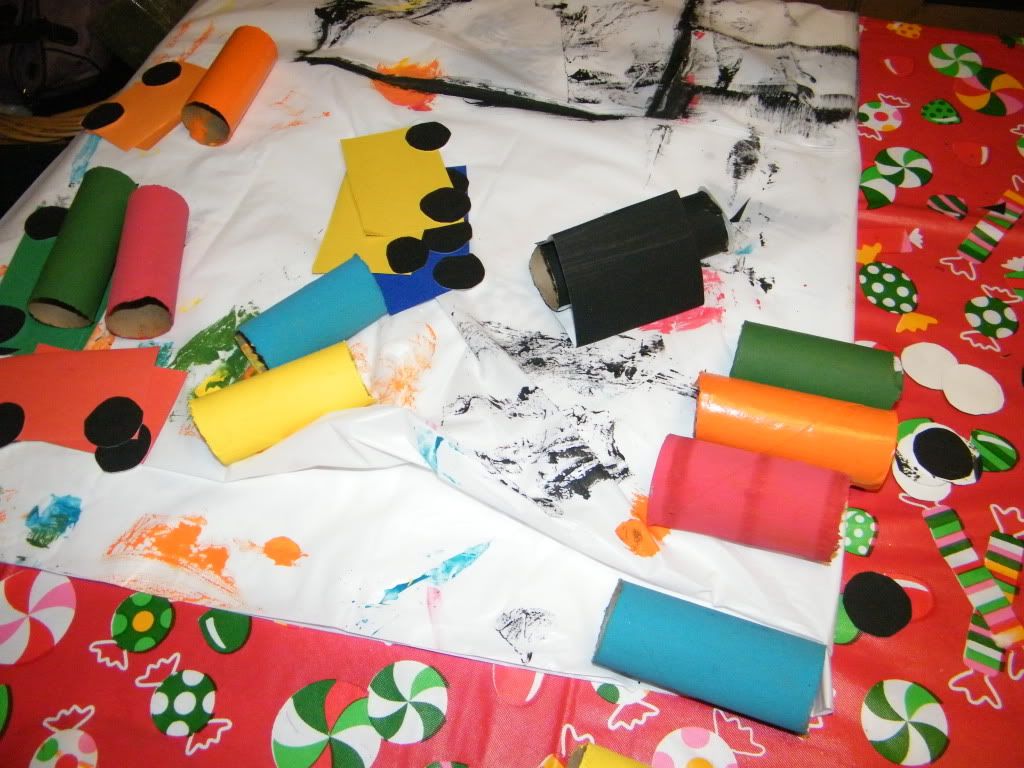
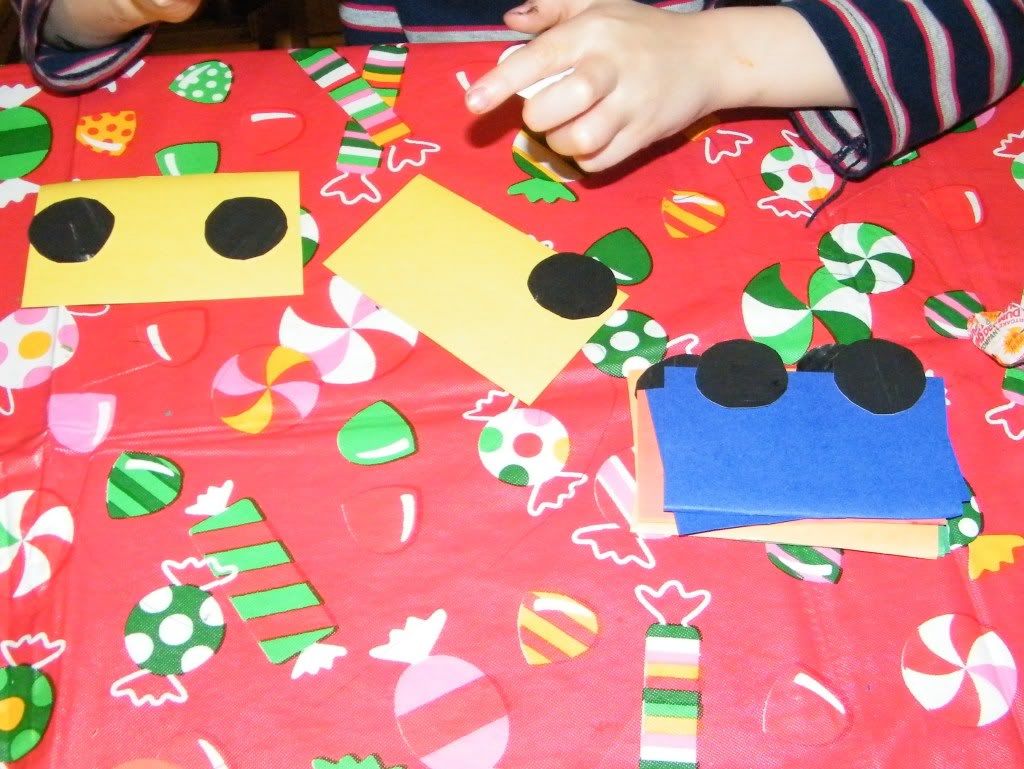
I used black poster board to make some wheels and also used matching poster board (matched to the paint colors) for the side panels of the cars. *Hint - if you don't have colored poster board, you can paint white poster board, the board is sturdy enough to hold the paint without it seeping or bleeding through.
I cut the rectangle shapes to fit the size of the tubes. The boys then used glue sticks to glue the wheels to the side panels
While the paint on the tubes dried the boys watched the Polar Express movie.
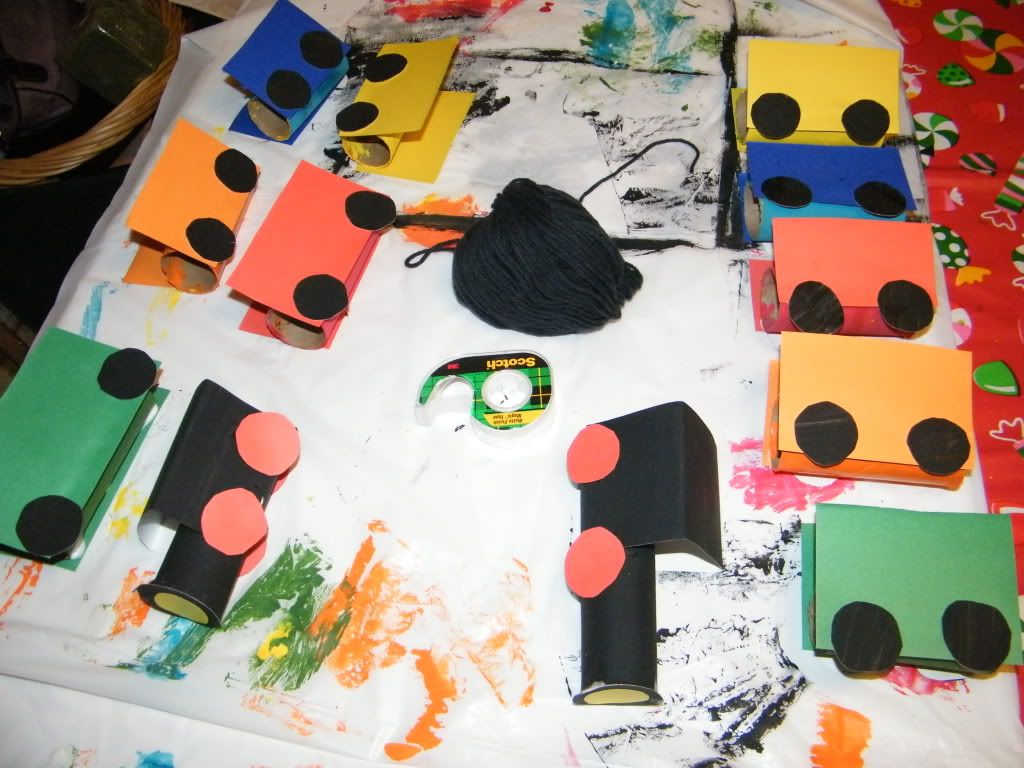
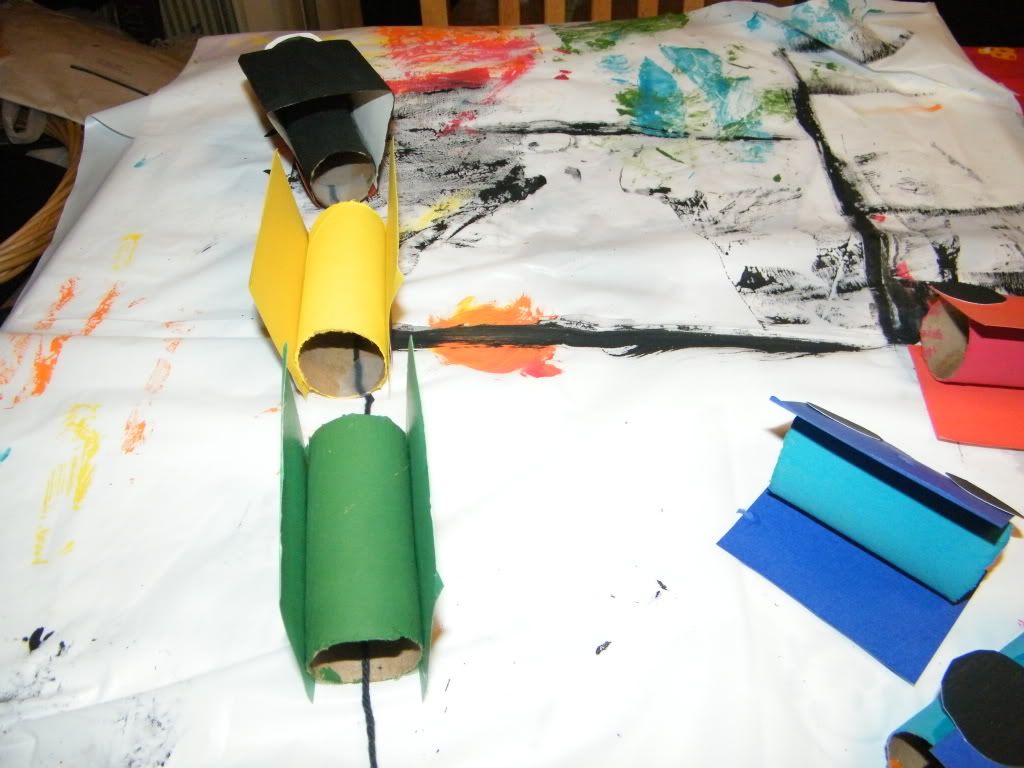
I cut out a black circle to cover the front of the train (the opening of the tube) and made a long rectangle to go over the train (fold into three's to make sides and a roof). You can also make windows or add little decorations like stickers or whatever you like to the train when it is dry.
Glue the side panels to the painted tubes. This is where the tacky glue comes in handy. You want the wheels to hang over the sides of the tube.
Assemble the train by threading the yarn through the tubes and then taping the yarn to the inside of the tubes.
Isn't the train just adorable?! LOVE it!
Linking to....